I turned my Lego Game Boy into a photo frame
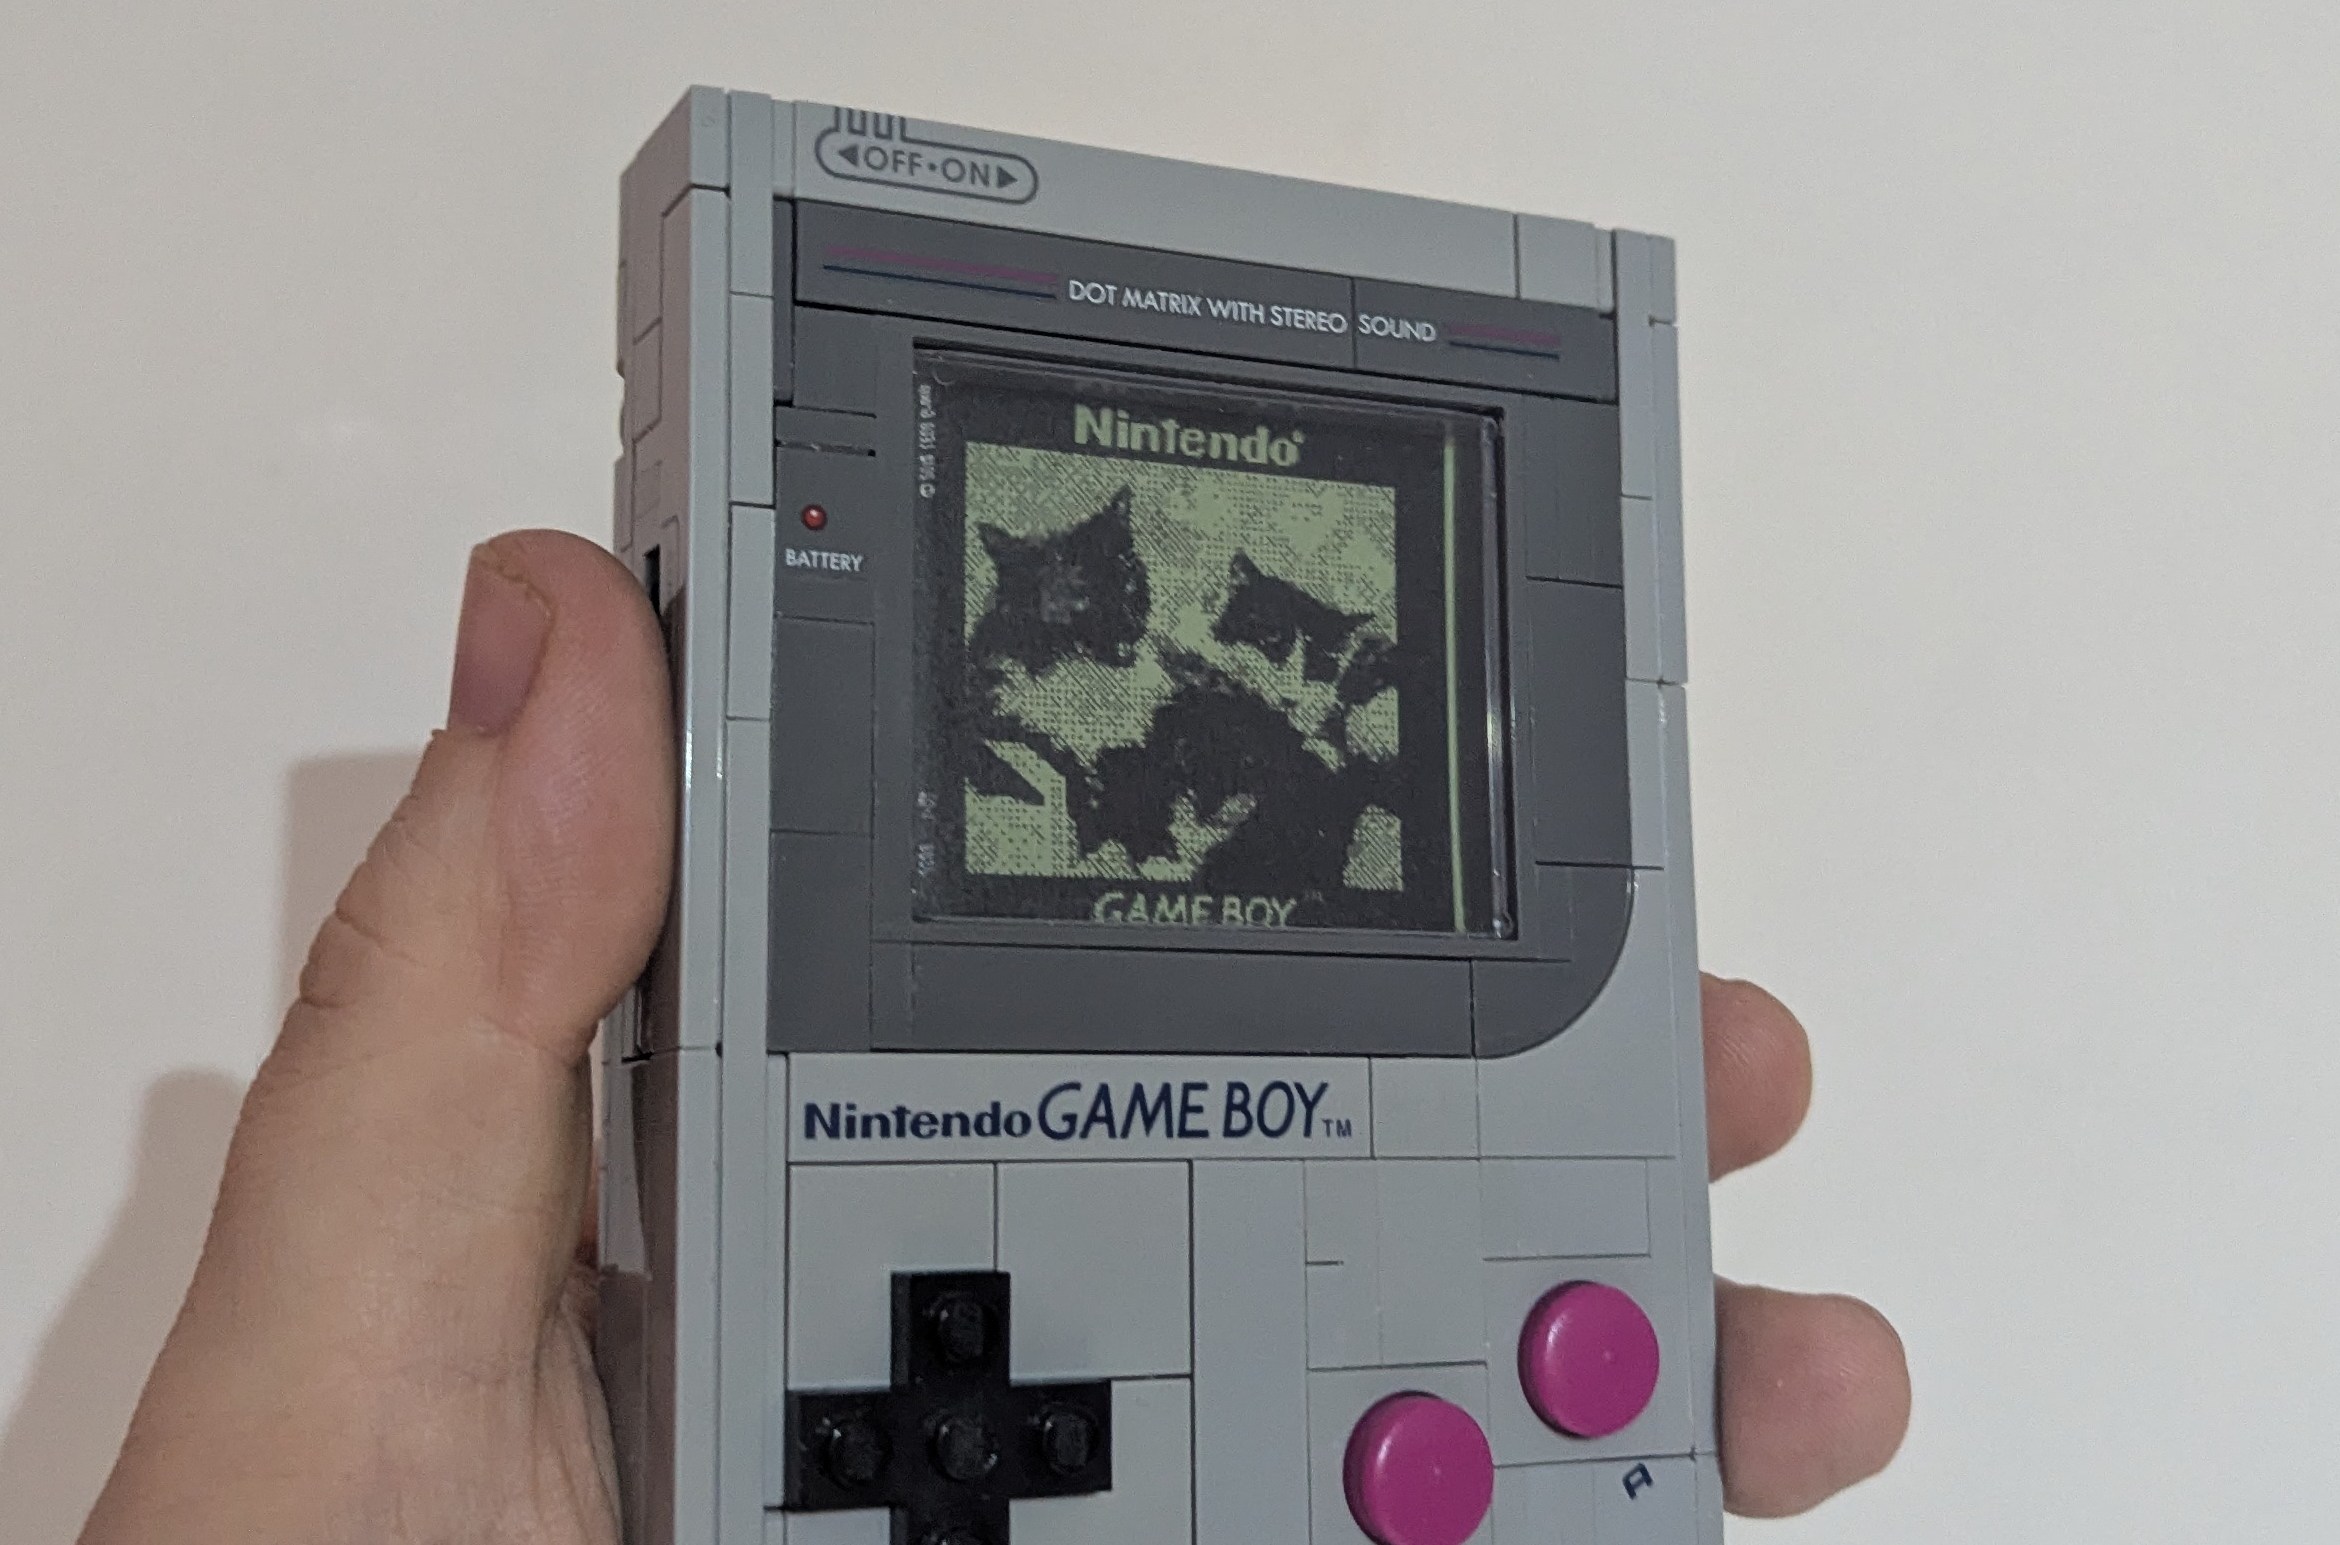
For Christmas, I received one of those Lego Game Boys. It's a really nice object! It's almost the right scale to be a real Game Boy, with a few fudges to fit the brick size. The most impressive thing is that (decals aside) I don't think there is a single unique brick in this model. It also comes with three lenticular screen inserts — these are plastic sheets which switch between Game Boy game stills depending which angle you look at them.
This thing has been sitting on my desk since I built it in December, and recently I thought it would be nice if I could put my own photos in the screen instead of a Zelda screenshot.
So I built a tool to do it (and the source code is also available).
There are two parts to this. First, the physical: we need to measure the existing screen inserts so we can measure them. I, it turns out, do not own a ruler I trust, so I looked up the dimensions of the inserts, the screen piece and the glass inset for it. (Also the height of a plate, which you have to subtract because of how the kit is built.)
The second part is the image. It should be 2-bit (ie, four levels of grey), it should be green, and it should be in the correct resolution. The Game Boy screen is 160×144 — a classic 10:9 aspect ratio. The Game Boy can't actually display an arbitrary 160×144 image, though, becaues it would require 360 tiles, and its paltry hand-held 1980s VRAM can only hold 256. To this end, the Game Boy Camera showed a border around the image, reducing the actual photo area to 128×112 pixels, a classic 8:7 aspect ratio, which fits in its VRAM just fine. It also means there's a "Game Boy" photo aesthetic I can use. So my tool uses the classic Game Boy Camera frame image and the actual Game Boy Camera dither pattern.
The last questions are: what four colours should we use for the Game Boy screen, and how do we turn an image into a four-colour version. The Game Boy Wikipedia page has some good RGB values for the screen, but I only have a black-and-white laser printer (yes, that one) and I've no intention of purchasing a colour printer to reproduce a literal 2-bit picture. So instead I bought some green paper and printed on it with my regular printer. That kind of gives us the four colours — the Game Boy has a contrast dial so you can do more or less anything you want here, so you might as well print whatever four shades of grey look nicely different on your printer. Shades that look very different on your screen might look very similar when printed, so it's worth doing a few test prints before you feed in your more expensive coloured paper (although it's not that expensive).
So then we just need to know what RGB values in the source image should correspond to each grey level, and for that, I put some sliders in — there just isn't a simple formula that will work for any image and putting these sliders in saves you a lot of messing around in the curves tool in Krita. In theory I could give you 49 separate sliders, for all the different positions in the dither pattern, but that's clearly too many and realistically, there's only so precise you need to be when you're making a 128×112, 4-colour image.
In fact in theory I think you can fit twenty, but it really depends on how thin a margin you can trick your printer into using. Fifteen seems like a very sensible stopping point to me., so my tool allows for you to create them in batches. You'll need to cut them out — you don't need to be extremely precise because there's a bit of give and margin for error. You'll likely need to trim then amyway, and if you make a card too big and it won't come out, the easiest thing to do is remove the 'off/on' and 'dot matrix with stereo' plates, slide out the power switch, and poke the card out through the gap that makes using something thin. One of the plates will do but a pin or mechanical pencil works better.
Anyway! Now my desk has a Lego Game Boy and a family photo, and it doesn't take up any more space. Do get in touch if you give this a try!